中级独孤九贱(6)_jQuery视频教程
jQuery是一个快速、简洁的JavaScript框架。设计的宗旨是“write Less,Do More”,即倡导写更少的代码,做更多的事情。它封装JavaScript常用的功能代码,提供一种简便的JavaScript设计模式,优化HTML文档操作、事件处理、动画设计和Ajax交互。 核心特性可以总结为:具有独特的链式语法和短小清晰的多功能接口;具有高效灵活的css选择器,并且可对CSS选择器进行扩展;拥有便捷的插件扩展机制和丰富的插件。兼容各种主流浏览器,如IE 6.0+、FF 1.5+、Safari 2.0+、Opera 9.0+等,是全球最流行的前端开发框架之一。PHP中文网根据最新版本,独家录制jQuery最新视频教程,回馈PHP中文网的新老用户。
在我们日常开发工作中、相信小伙伴们对进度条应该不陌生吧,进度条在我们项目中,还是有非常大的做用,那么我们今天就到大家详细的介绍下JavaScript实现进度条的实例分析!
setTimeout和clearTimeou
<html> <head> <title>进度条</title> <style type="text/css"> .container{ width:450px; border:1px solid #6C9C2C; height:25px; } #bar{ background:#95CA0D; float:left; height:100%; text-align:center; line-height:150%; } </style> <script type="text/javascript"> function run(){ var bar = document.getElementById("bar"); var total = document.getElementById("total"); bar.style.width=parseInt(bar.style.width) + 1 + "%"; total.innerHTML = bar.style.width; if(bar.style.width == "100%"){ window.clearTimeout(timeout); return; } var timeout=window.setTimeout("run()",100); } window.onload = function(){ run(); } </script> </head> <body> <p class="container"> <p id="bar" style="width:0%;"></p> </p> <span id="total"></span> </body> </html>效果图:
<html> <head> <title>进度条</title> <style type="text/css"> .processcontainer{ width:450px; border:1px solid #6C9C2C; height:25px; } #processbar{ background:#95CA0D; float:left; height:100%; text-align:center; line-height:150%; } </style> <script type="text/javascript"> function setProcess(){ var processbar = document.getElementById("processbar"); processbar.style.width = parseInt(processbar.style.width) + 1 + "%"; processbar.innerHTML = processbar.style.width; if(processbar.style.width == "100%"){ window.clearInterval(bartimer); } } var bartimer = window.setInterval(function(){setProcess();},100); window.onload = function(){ bartimer; } </script> </head> <body> <p class="processcontainer"> <p id="processbar" style="width:0%;"></p> </p> </body> </html>效果图:
3.setTimeout和setInterval区别
setTimeout() 只执行 code 一次。如果要多次调用,请使用 setInterval() ,setInterval() 方法会不停地调用函数,直到 clearInterval() 被调用或窗口被关闭,或者让 code 自身再次调用 setTimeout()。
总结:
相信大家通过对本文的学习,对JavaScript实现进度条有了进一步的了解,当遇到同样的要求时,可以借鉴本文,希望对你有所帮助!
相关推荐:
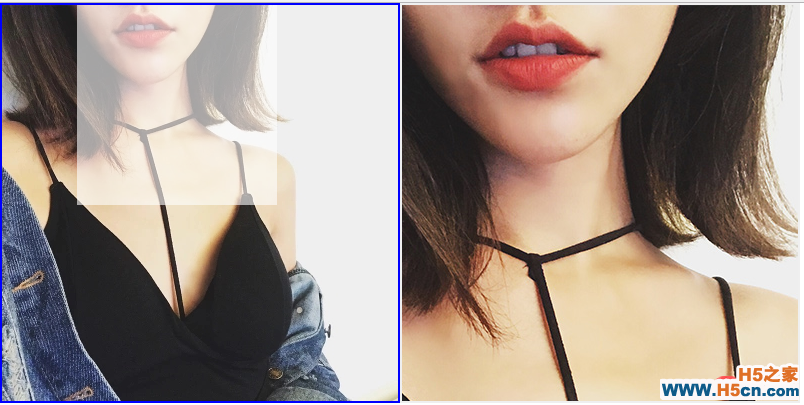
JS实现电商触摸放大效果图可以作为插件直接在我们的项目中使用,对JS有兴趣的同学可以,深度研究一下我们的JS代码,你会得到不一样的收获哦~~

代码:
<!DOCTYPE html> <html> <head> <meta charset="UTF-8"> <title>PHP中文网-电商放大镜</title> <style type="text/css"> *{ padding: 0; margin: 0; } #left{ padding: 0; margin: 0; width: 400px; height: 400px; border: 2px solid blue; background: url() no-repeat; float: left; cursor: crosshair; position: relative; box-sizing: border-box; } #box{ width: 200px; height: 200px; background: white; opacity: 0.6; position: absolute; top: 0; left: 0; display: none; box-sizing: border-box; } #cover{ width: 400px; height: 400px; background: red; position: absolute; left: 0; top: 0; opacity: 0; box-sizing: border-box; } #right{ width: 400px; height: 400px; border: 2px solid black; overflow: hidden; position: relative; display: none; box-sizing: border-box; } #rpic{ position: absolute; } </style> <script type="text/javascript"> window.onload = function(){ var left = document.getElementById("left"); var right = document.getElementById("right"); var rpic = document.getElementById("rpic"); var box = document.getElementById("box"); var cover = document.getElementById("cover"); // 给左侧加鼠标移动事件 cover.onmousemove = function(){ //获得事件对象 var ev = window.event; var mouse_left = ev.offsetX || ev.layerX; var mouse_top = ev.offsetY || ev.layerY; // document.title = mouse_left + '|' + mouse_top; //计算色块的位置 var box_left = mouse_left - 100; var box_top = mouse_top - 100; // 判断是否超出 if (box_left < 0) { box_left = 0; } if (box_left > 200) { box_left = 200; } if (box_top < 0) { box_top = 0; } if (box_top > 200) { box_top = 200; } // 让色块移动 box.style.left = box_left + 'px'; box.style.top = box_top + 'px'; //计算右侧图片位置 var rpic_left = box_left*-2; var rpic_top = box_top*-2; // 让右侧移动 rpic.style.left = rpic_left + 'px'; rpic.style.top = rpic_top + 'px'; } //给左侧加鼠标移入事件 cover.onmouseover = function(){ // 让左侧色块和右侧隐藏 box.style.display = 'block'; right.style.display = 'block'; } // 给左侧加鼠标移出事件 cover.onmouseout = function(){ // 让左侧色块和右侧隐藏 box.style.display = 'none'; right.style.display = 'none'; } } </script> </head> <body> <p id="left"> <p id="box"></p> <!-- box 放置原图图片 --> <p id="cover"></p> <!-- cover 放置原图图片的盖子 --> </p> <p id="right"> <img src="" id="rpic"> </p> </body> </html>
 相关文章
相关文章
 精彩导读
精彩导读 热门资讯
热门资讯 关注我们
关注我们
